
Last edited time
Jan 21, 2024 06:38 AM
password
AI summary
type
status
date
slug
summary
tags
category
icon
PicGo + Github效果图
配置Github
- 创建一个新仓库,用于存放图片。 填写仓库名称和描述,且仓库必须是public的,否则存储的图片不能正常访问。
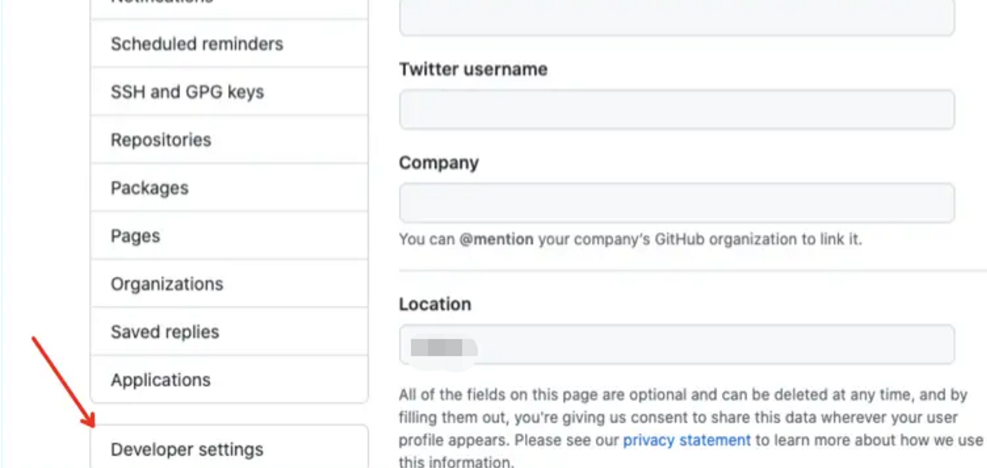
- 生成一个token,用于picGo访问github选择左侧菜单的Developer settings
- 选择左侧Personal access tokens,再点击Generate new token

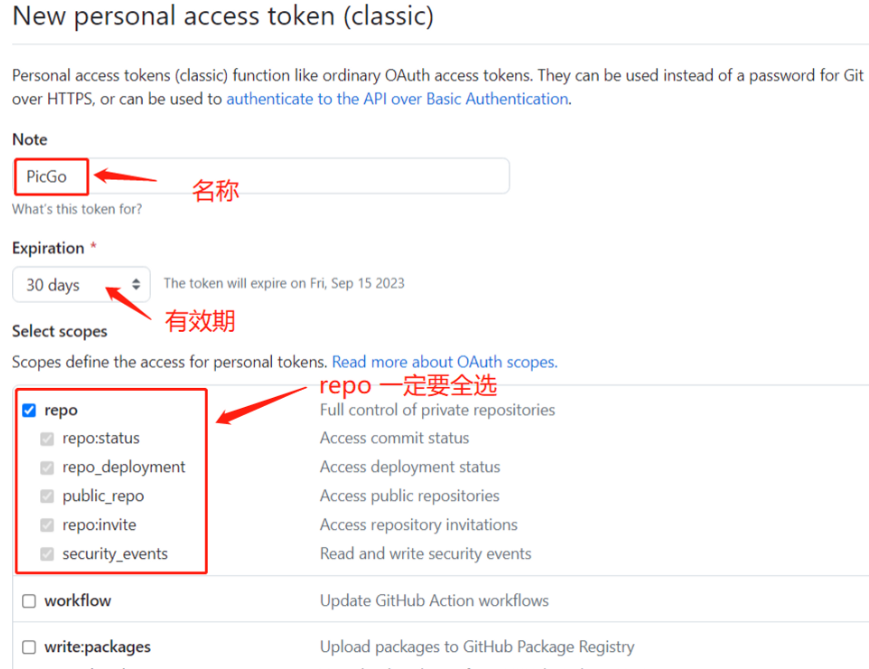
- 填写 Notes 信息,选择 token 过期时间,为了安全,GitHub 会强烈建议不要设置成永久。这个大家根据自己实际情况选择,到期之后重新生成即可。复选框的话,repo 一定要全选,其他的无所谓。
- 确定之后,就生成我们需要的 token 了。
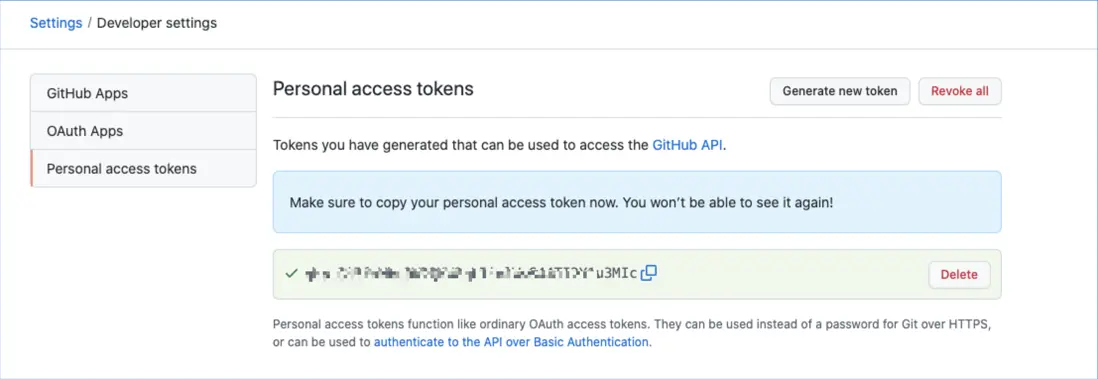
注意 :生成的token只会在这里显示一次,所以记得单独保存下来哦。
至此,Github的配置完成。
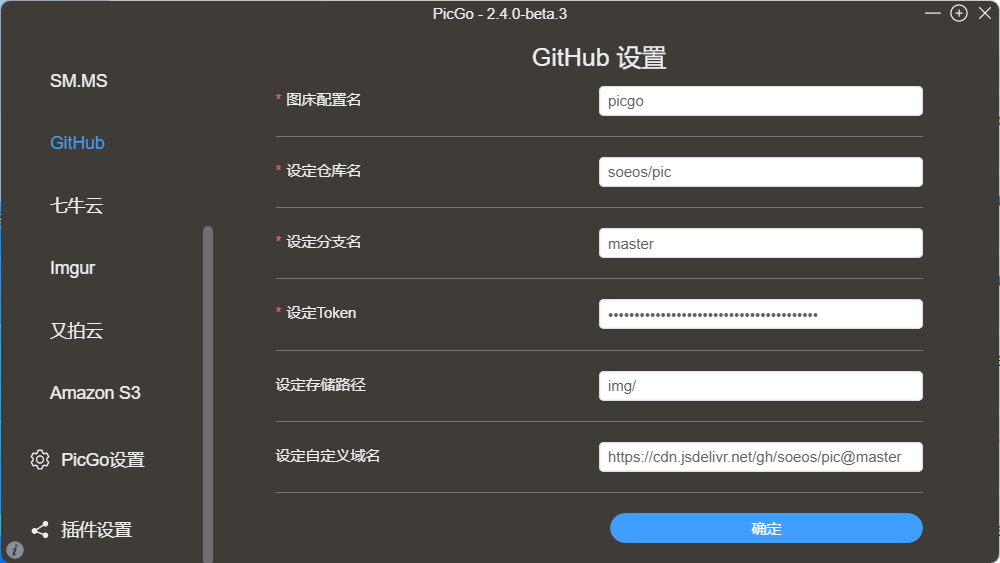
PicGo配置
- 说明 设定仓库名:上文在 GitHub 创建的仓库 设定分支名:master 设定 Token:上文生成的 token 指定存储路径:为空的话会上传到跟目录,也可以指定路径 设定自定义域名:可以为空, 这里为了使用 CDN 加快图片的访问速度,按这样格式填写:https://cdn.jsdelivr.net/gh/用户名/仓库@分支 https://cdn.jsdelivr.net/gh/soeos/pic
- 配置
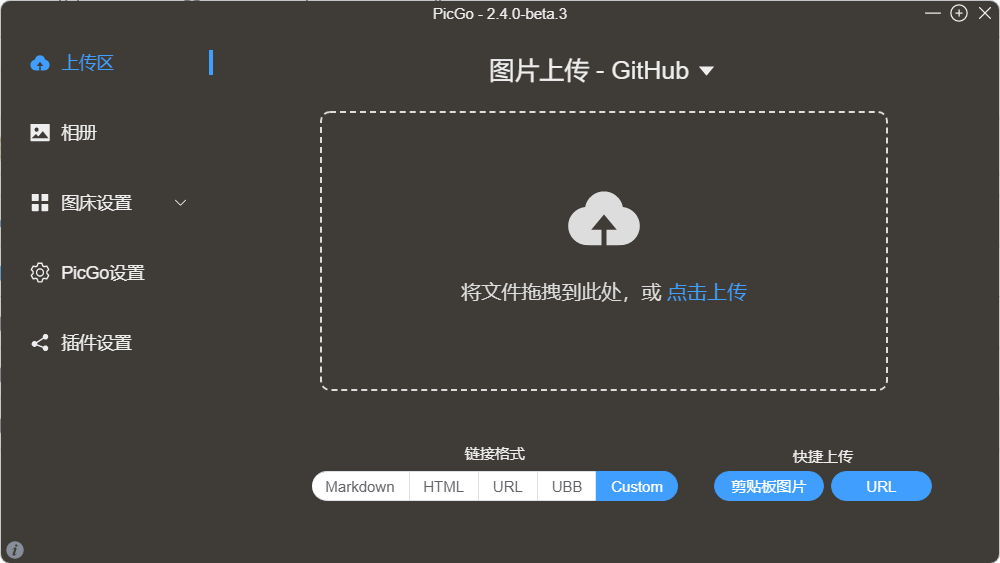
- 上传 直接拖拽,或者点击上传都可以。
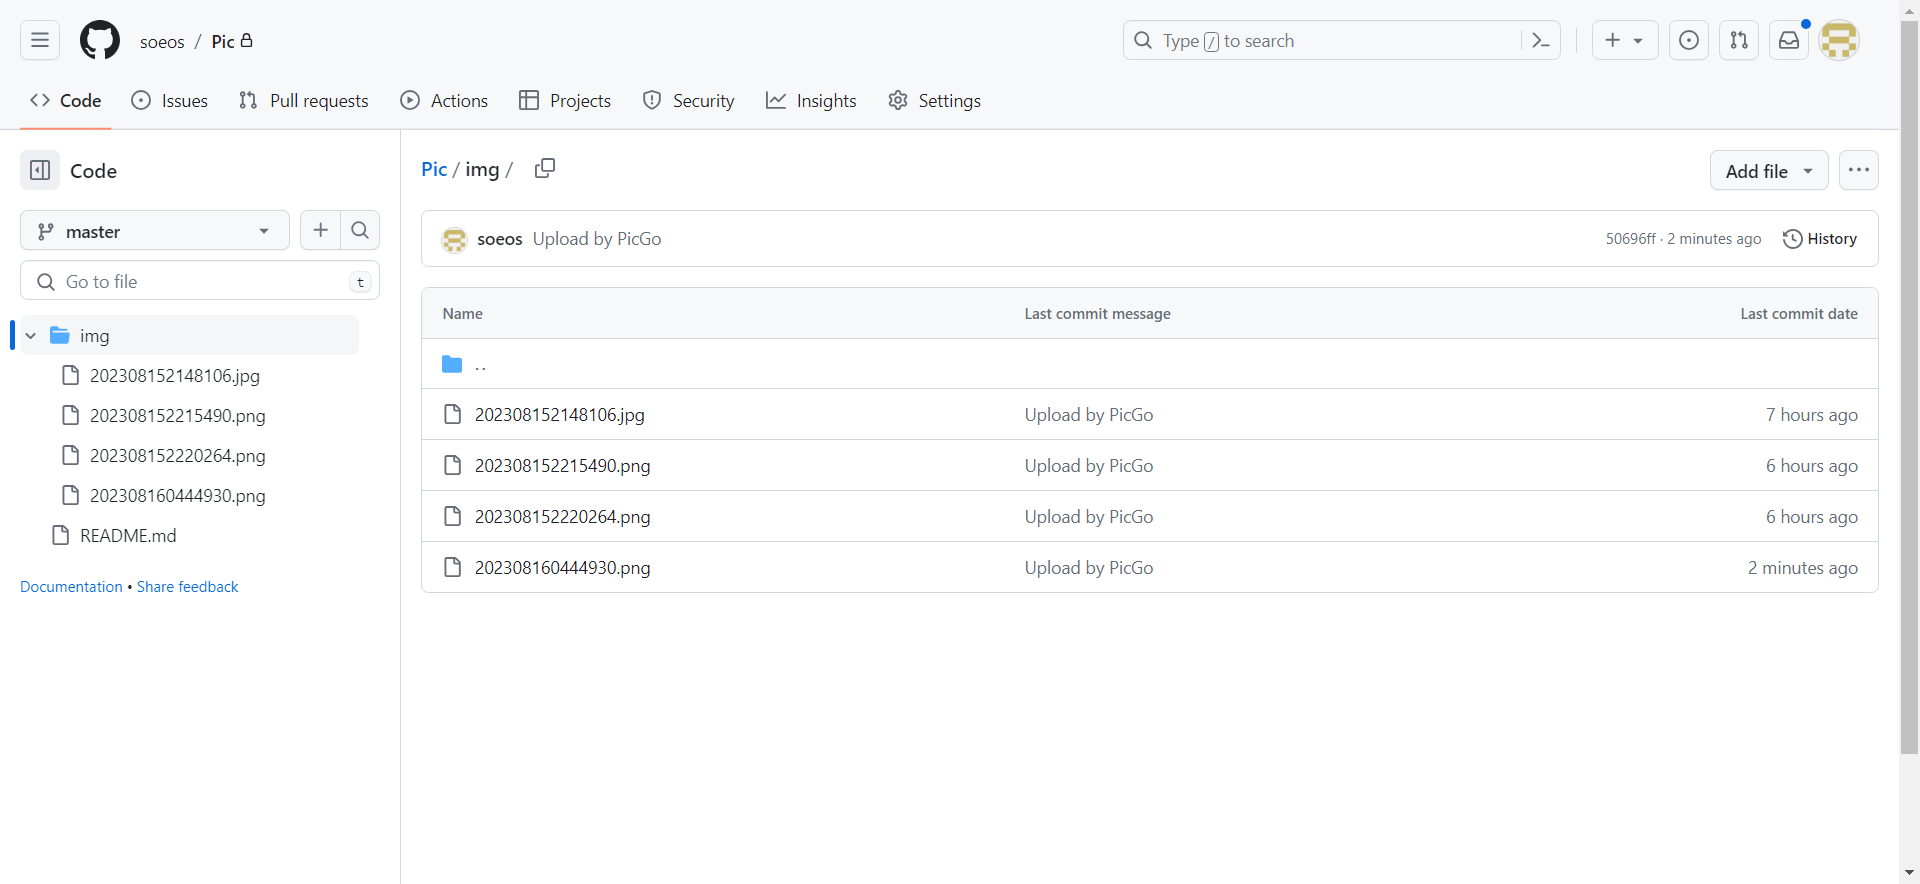
- 效果
上传成功之后,在 GitHub 的仓库就可以看到了。

- 在相册里复制外链,粘贴到我们的 markdown 文档中,就可以看到图片了。
- 作者:迷途
- 链接:blog.ortech.us.kg/article/gh2
- 声明:本文采用 CC BY-NC-SA 4.0 许可协议,转载请注明出处。